|
Baptismal Pool«Return to Church Resources
The purpose of this page is to give you instructions on the construction of your own portable Baptismal Pool.
These instructions and photos provided by Doug and Lavinia Barkhouse of Canada.
INSTRUCTIONS
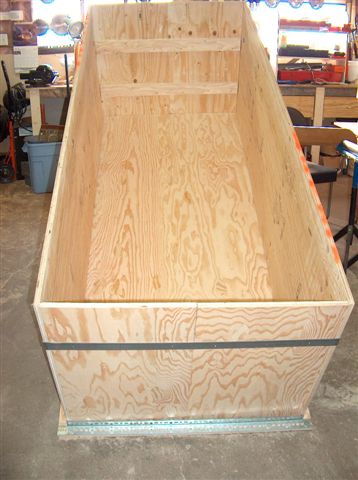
All wood used is 3/4 inch plywood
Bottom piece: 39 inches wide and 88-1/2 inches long.
Side pieces (2): 30 inches high and 85-1/2 inches wide
End pieces (2): 30 inches high and 34-1/2 inches wide
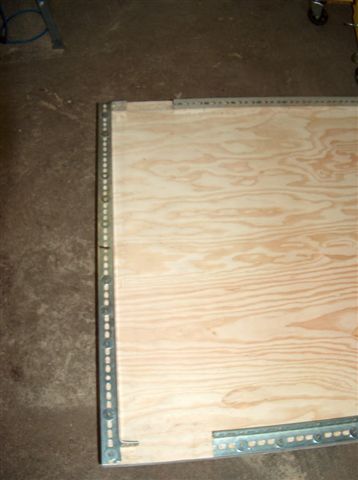
See Construction photos 1-2-3
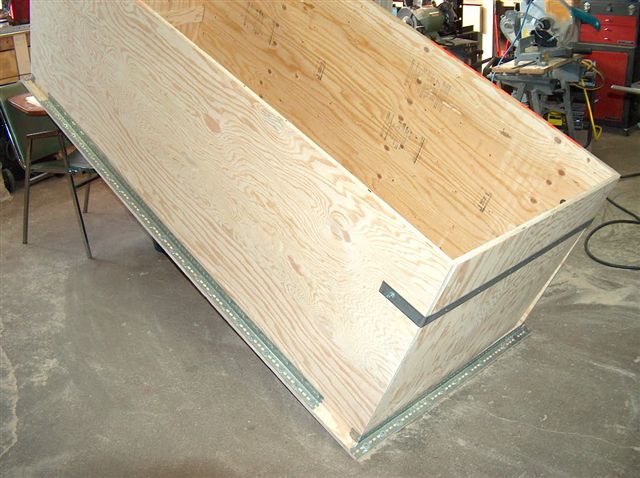
We used the left over plywood from the sidepieces, cut it to 17-1/4 wide, 30 inches high and joined two pieces together for each end piece.
We used three sheets of plywood total. If you budget allows, you could cut the end pieces from another sheet with no need to join them.
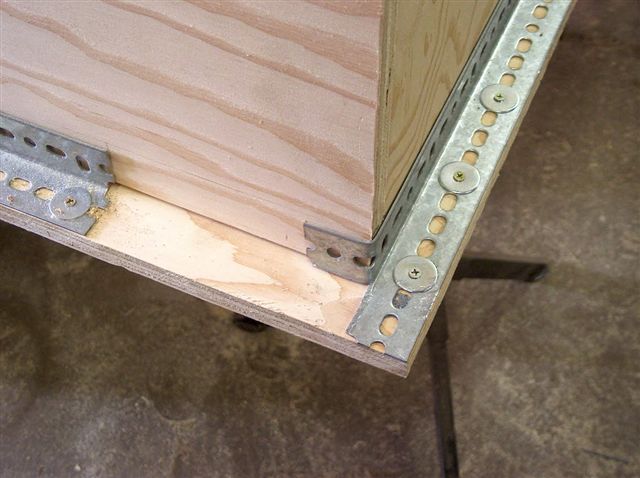
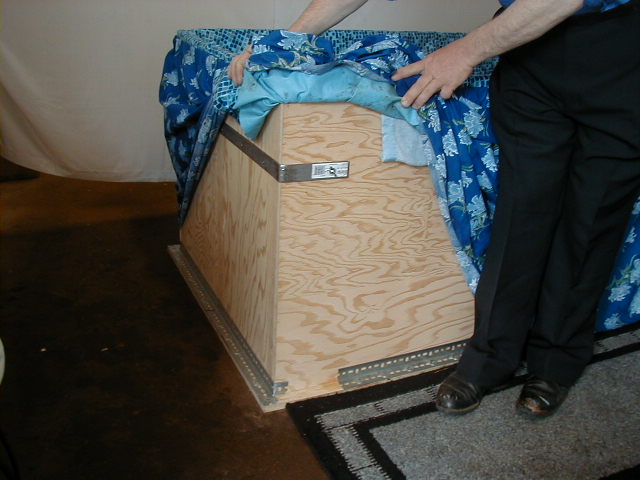
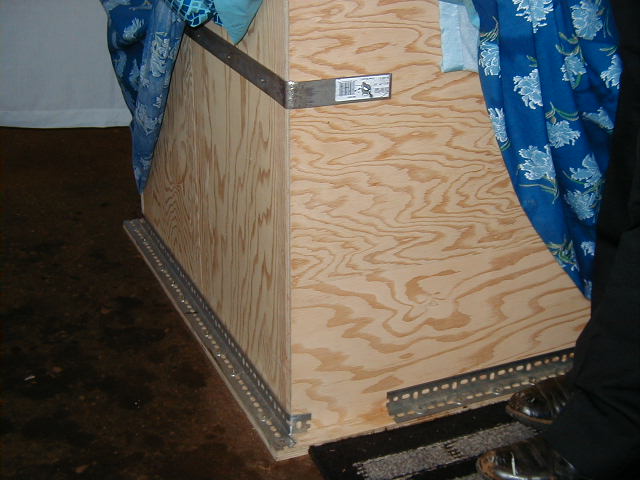
We wanted the "Pool" to be mobile, so we fastened 1-1/2 inch by 1-1/2 inch angle iron to the bottom, all along the outside edges.
The side pieces fit down on the inside of the angle iron on the bottom piece, the end pieces fit down on the inside of the side pieces and against the angle iron on the bottom piece.
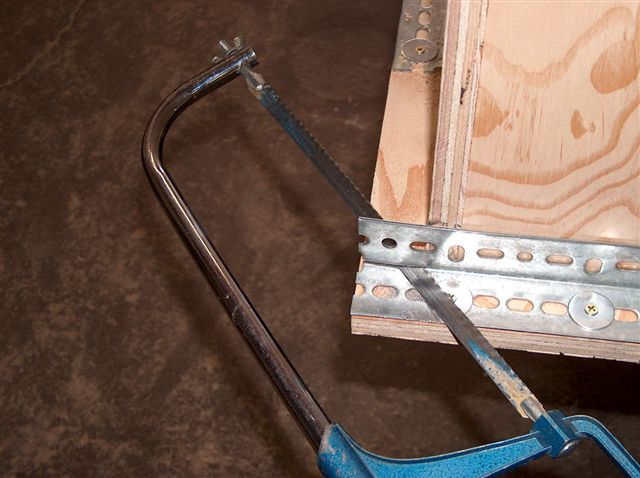
We bent a piece of 1-1/2 inch wide by 48-inch long flat iron bar 1/8-inch think to hold the end pieces to the sidepieces. We used screws to hold it to the end pieces, and then short bolts with wing nuts to fasten it to the sidepieces. This is so the "Pool" can be taken apart to be moved. If you are going to leave it in one spot, just fasten the end pieces with glue and nails to the sidepieces.
See Construction photos 4-5-6-7-8-9-10-11-12-13
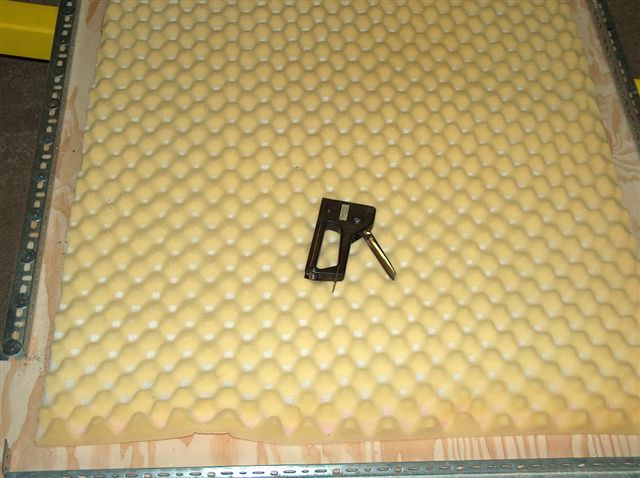
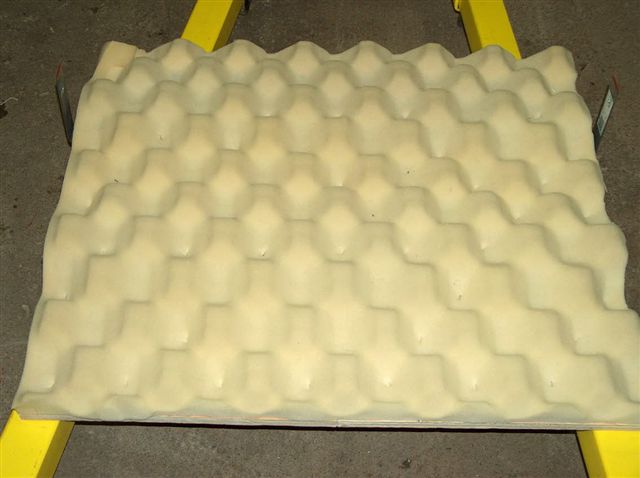
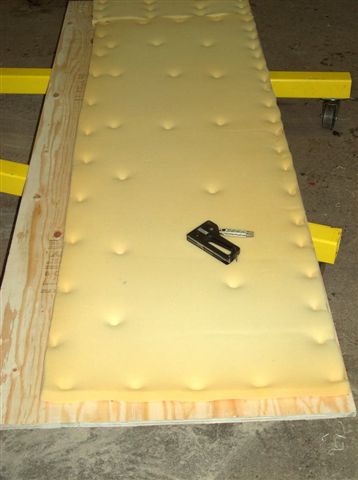
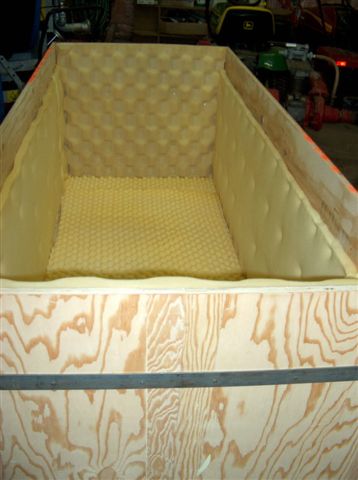
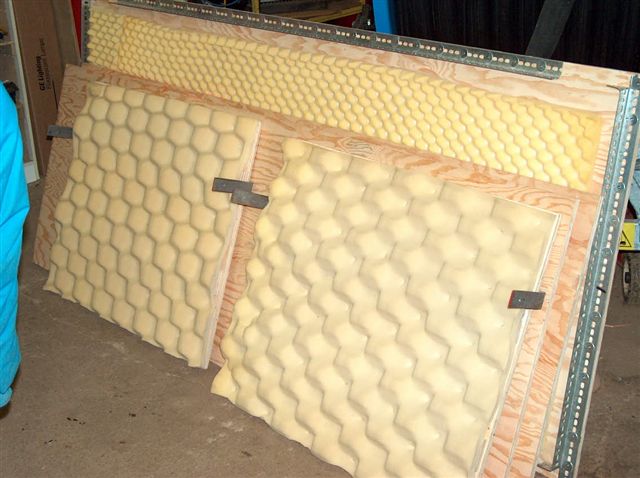
We used foam to cover the inside of the "Pool" bottom, ends, and sides.
See Construction photos 14-15-16-17
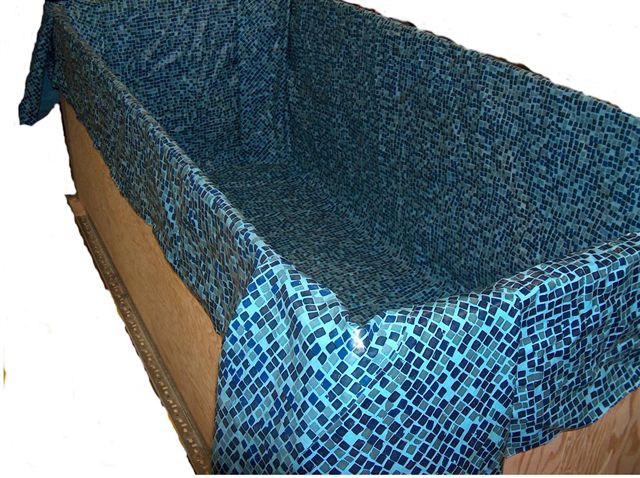
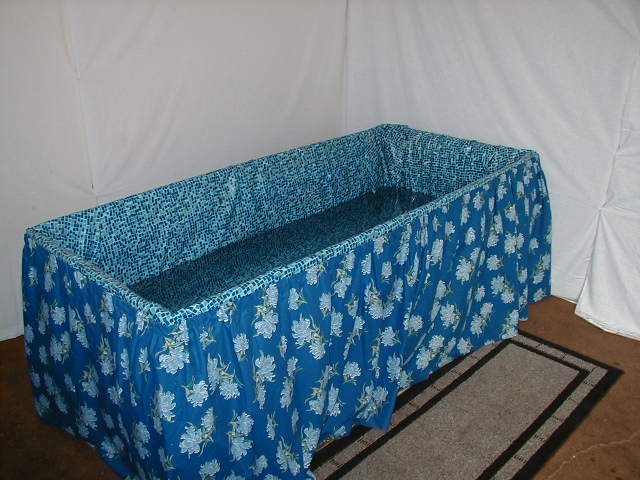
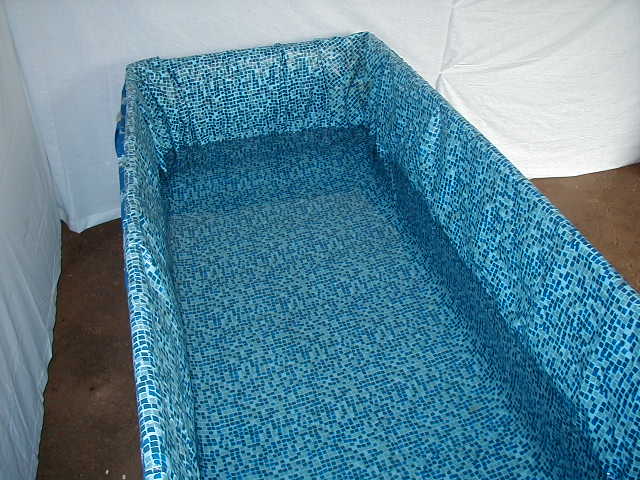
The liner was cut 8 foot, 6 inches by 12 foot, 6 inches.
See Construction photo 18
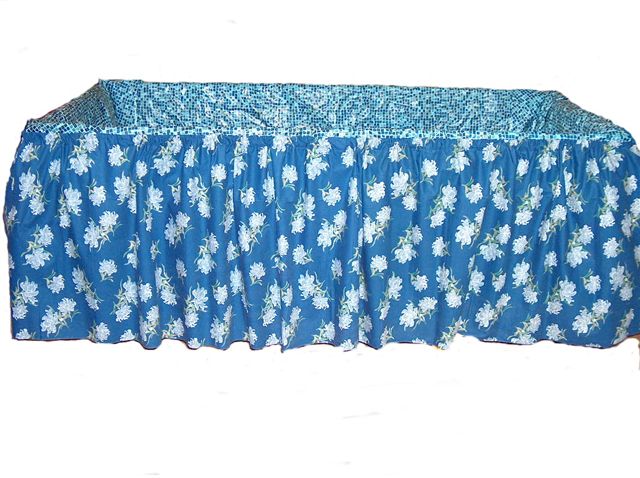
My wife made a skirt for the "Pool". It is long enough to go around the outside with some pleats and fastens at the top rim with a cord that goes through a pocket she sewed all around the skirt. The cord is pulled tight in the back and fastened.
See photos 19-20-21
See after construction photos 1-2-3-4
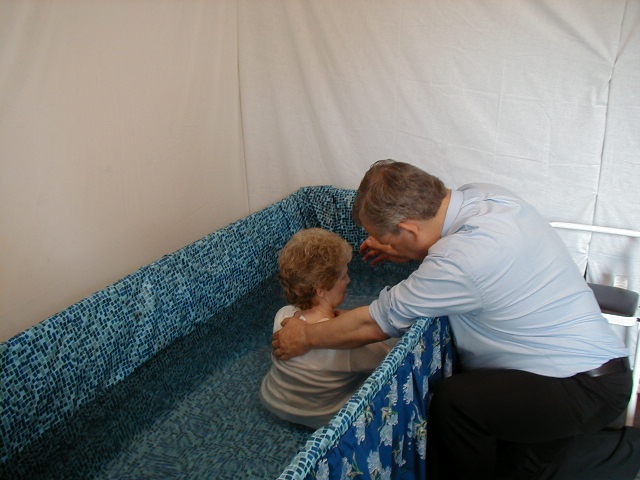
See baptism being performed 5-6
See close up of bar to finished product 7-8
Construction Photos
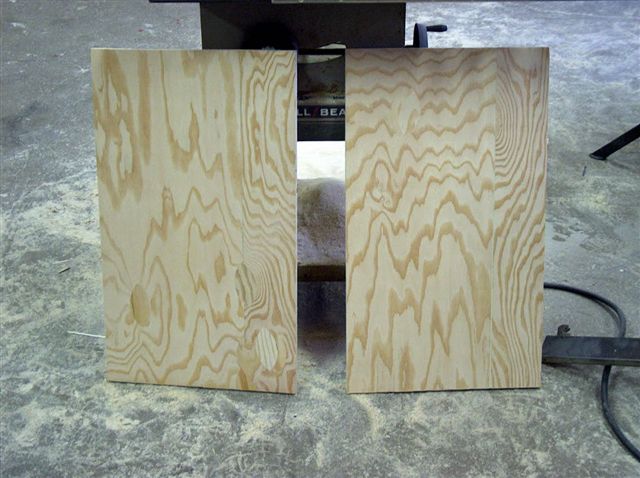
1-Two side pieces
| 2-Two side pieces that were joined for ends
| 3-How the pieces were joined for ends
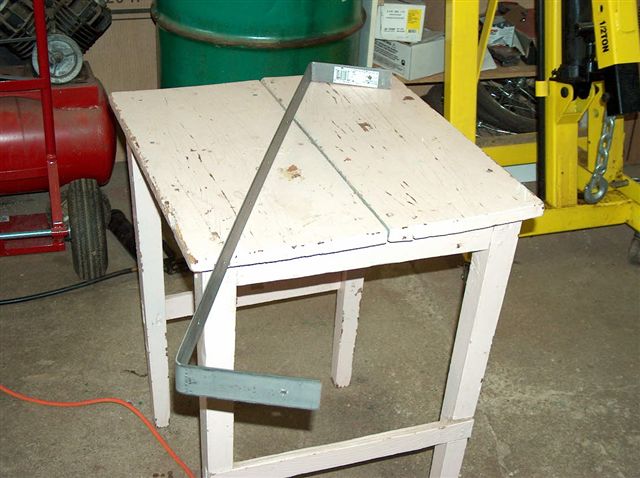
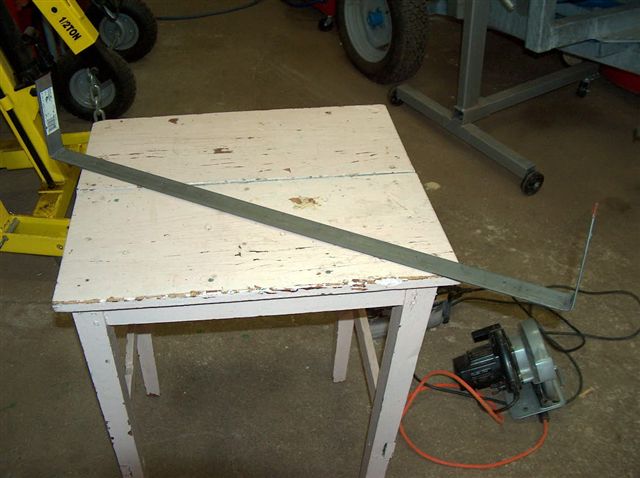
| 4-The bar that was bent to hold the ends to the sides
| 5-Another pic of the bent bar
| 6-How the bar is fastened
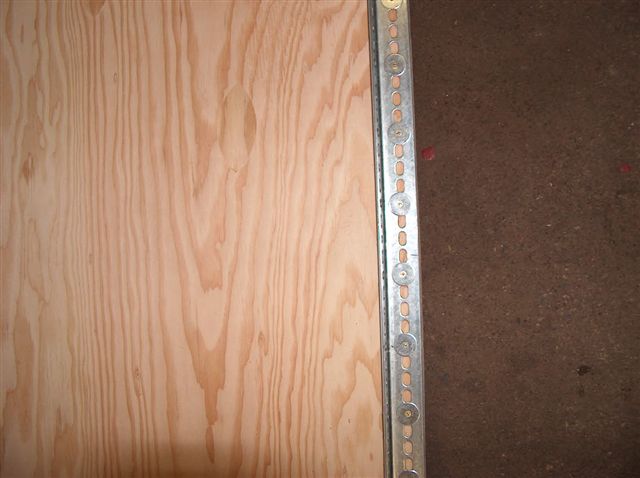
| 7-How angle iron is attached
| 8-Bending the angle iron around the sides
| 9-Bottom piece with angle iron
| 10-Angle iron
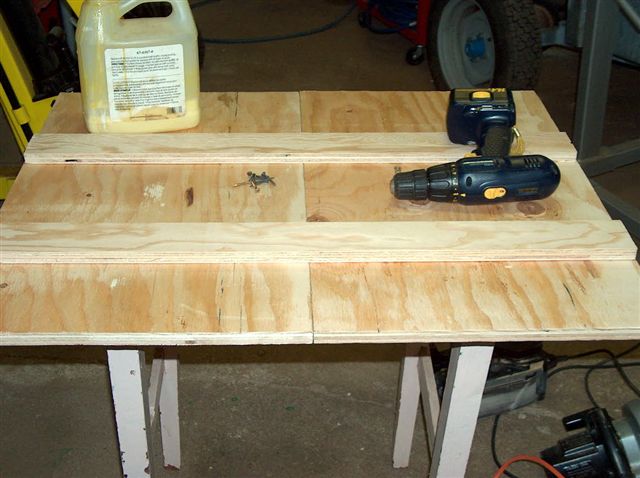
| 11-Bent angle iron
| 12-Sides, ends and bottom, different view
| 13-Sides, ends and bottom with bars
| 14-Foam being attached to bottom
| 15-Foam being attached to ends
| 16-Foam being attached to sides
| 17-Pool with foam showing
| 18-Fitting liner to pool
| 19-Finished pool with liner and skirting
| 20-Finished pool with liner and skirting, different view
| 21-Pool broken down for moving
| | | | |
After-construction Photos
1-Finished baptismal
| 2-Finished baptismal
| 3-Finished baptismal
| 4-Finished baptismal
| 5-Baptism being done
| 6-Baptism being done
| 7-Close up of bar
| 8-Close up of bar
| | |
|
|
 |
|